
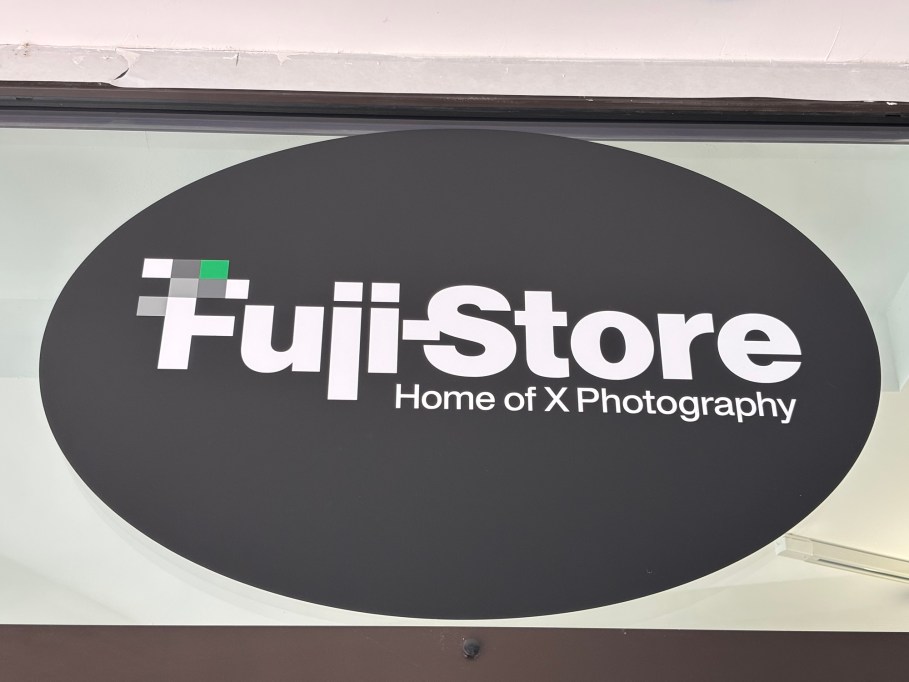
Nuremberg: Fuji(film)-Store
“Home of X Photography”
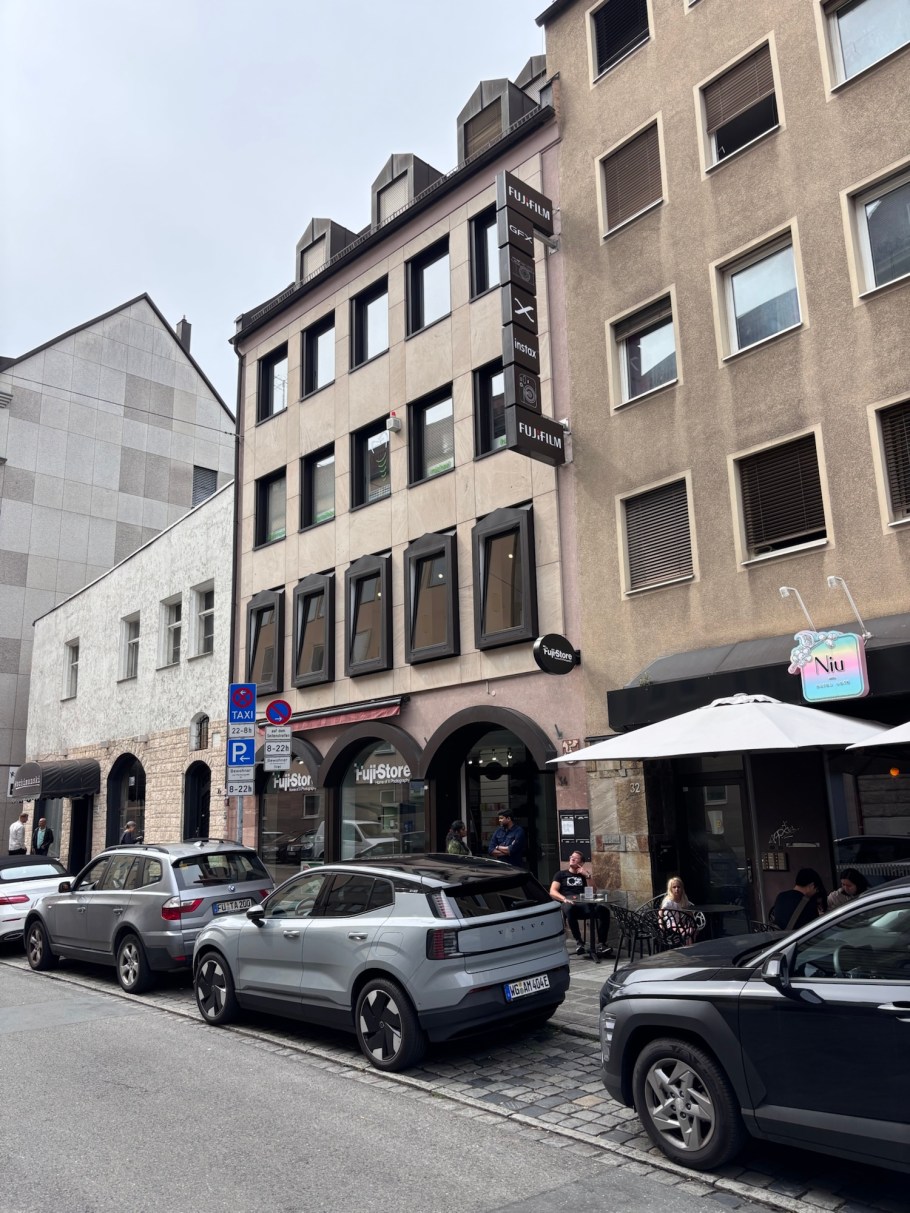
It’s a busy active crowded Saturday in Nuremberg’s city centre. There’s a big music festival with acts ranging in size from solo artists to 3-piece bands. But as I walk across town, I see a big Fujifilm sign, and as I approach, I can see this is no ordinary camera shop.
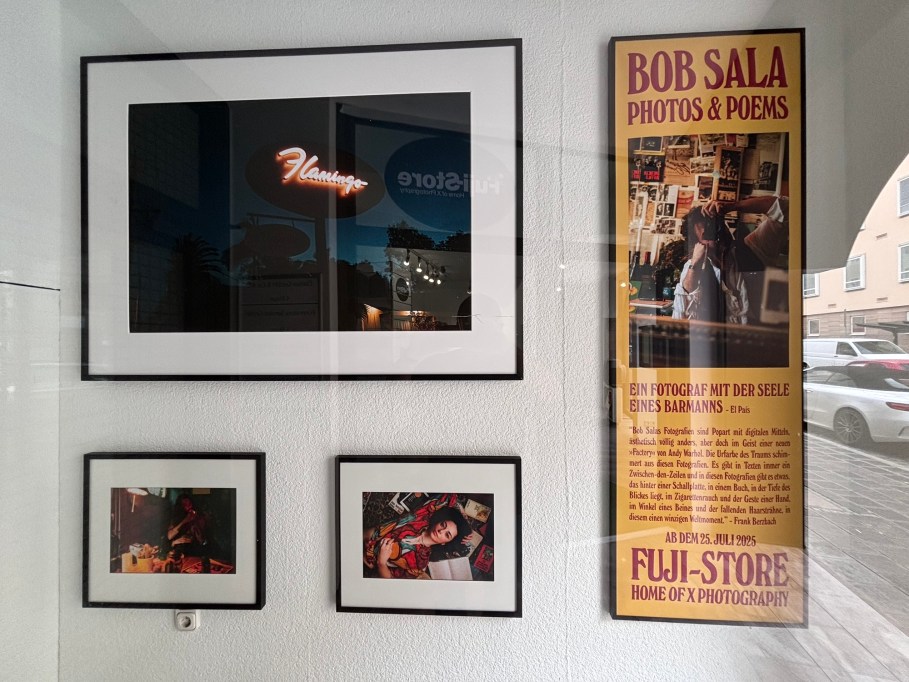
I learn there’s been a Fuji shop in the city for a number of years, and only this past February did they move to this new location. Judging by layout and the upstairs gallery, the Fuji shop has a feel similar to aLeica shop. That’s because the owner of Nuremberg’s Fuji-Store created the shop based on their experience operating the city’s Leica shop nearby. I chat with Peter, the gentleman in the shop about what’s out now and what else might be expected. We agree to a common wish: to have Fuji fill a current niche with a compact portable point-and-shoot at the right price point. How about an X80 product variant?
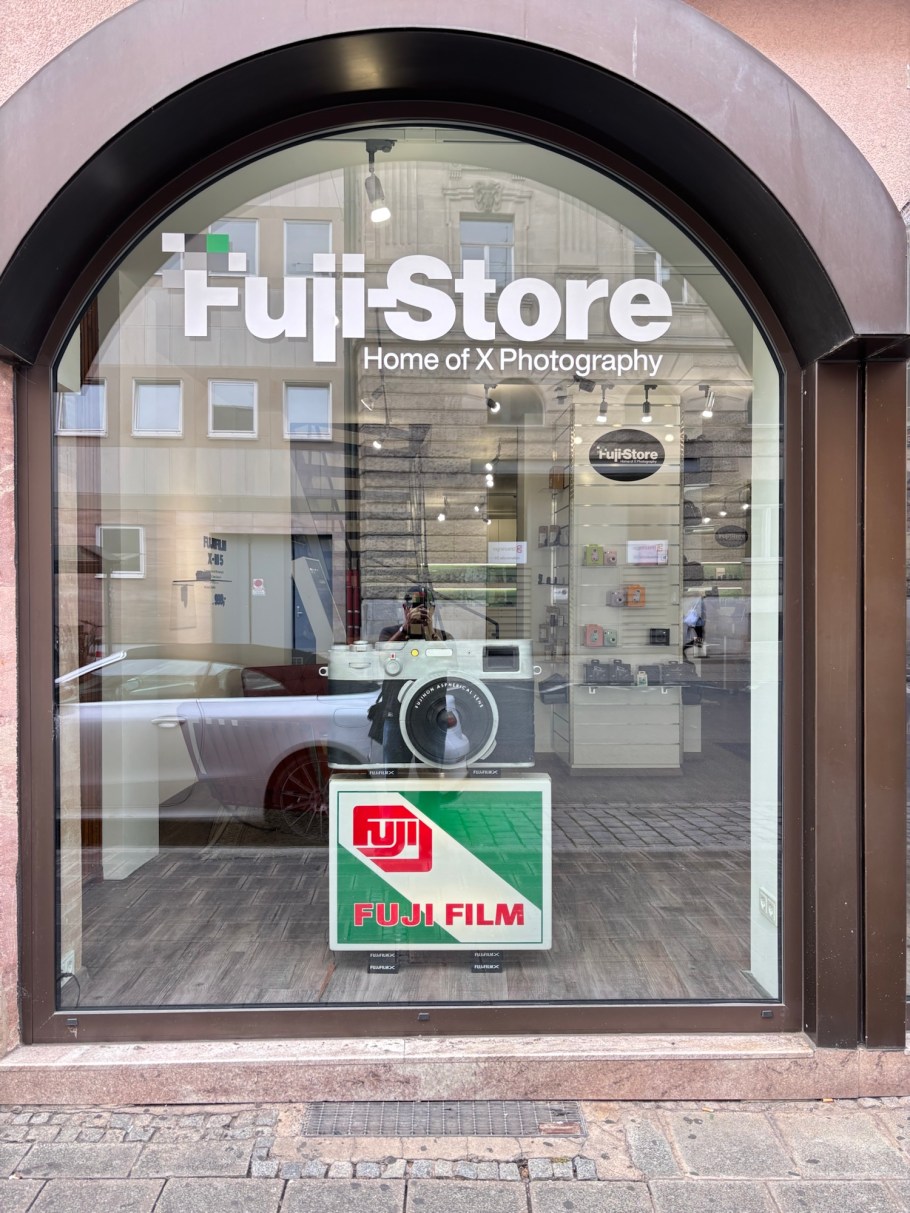
I’ve done my fair share of drooling (but no buying) at Leica shops in Frankfurt and Vienna, and I enjoyed doing the same to available X-models on display at Nuremberg’s Fuji-Store. Did I buy? No. Am I thinking about life after the X70? Yes.
I can also see Fuji X Weekly having some fun here in the shop.


I received neither support nor compensation for this piece. I made all images above with an iPhone15 on 2 August 2025. This post composed within Jetpack for iOS appears on Fotoeins Fotografie at fotoeins DOT com.
